

Fruit leather really can be stupidly simple to make and it's a great way to use up fruit when you are burned out on canning or just don't want to can something. A sweet couple from church gave us a bunch of overripe, so bursting with flavor they were bursting their skins, plums. My mom used to make fruit leather out of prunes so I knew I would like plum leather as well.


Fruit leathers are one of my favorite snacks, it's sweet and sour with all the flavor of the fruit intensified into a tasty non-dripping form. You can add ground nuts or mix fruits for all sorts of interesting creations.
All you need to make fruit leather is:
Fruit, a way to smash it and a way to dry it.

What about sweetening?
You can sweeten it with whatever you prefer or not at all. Often you really won't need to if you use overripe fruit, which also happens to be the sweetest and is perfect for fruit leather since you are just going to smash/puree it anyway!
Preparing the fruit
Remove the pits from stone fruit and core apples and the like. You can remove the seeds from berries, if you prefer, with a fine mesh sieve

Cooking?
You can cook the fruit, but it isn't necessary. Cooking will change the flavor, remove water so the leather dries faster and -if you are worried about the fruit being iffy- help prevent spoilage.
 Drying?
You can use an oven set below 200 degrees F, just crack the door and keep an eye on it. You could also sun-dry your fruit leather. Just make sure to cover it with a fine mesh in a way that keeps out the bugs and place it somewhere interested critters won't make off with your hard work. You also have to remember to take it in if it rains, and if it ends up needing more than one day to dry, take it out again. Or you can just use a food dehydrator, this is one of the ones we have

Things not to do and other advice
In my infinite creativity, I used wax paper to line the racks. Let me explain why this idea might sound great but ends up being a nightmare. Because wax paper is still paper. If you use something that is wet enough, the wax on the paper isn't enough to keep the paper from getting wet and sticking, no, lets say cementing to your food. Fear not! All is not lost if you too made this mistake. If you wet down the wax paper with a spray bottle and are patient you can save all your fruit leather or ehm, flax cracker. Yes, this is the second time I have made this mistake. Hopefully the last! If you need more help with a wax paper disaster check out this post.Instead of wax paper buy the inserts
 |
| yeah- that was a disaster. |
How long?
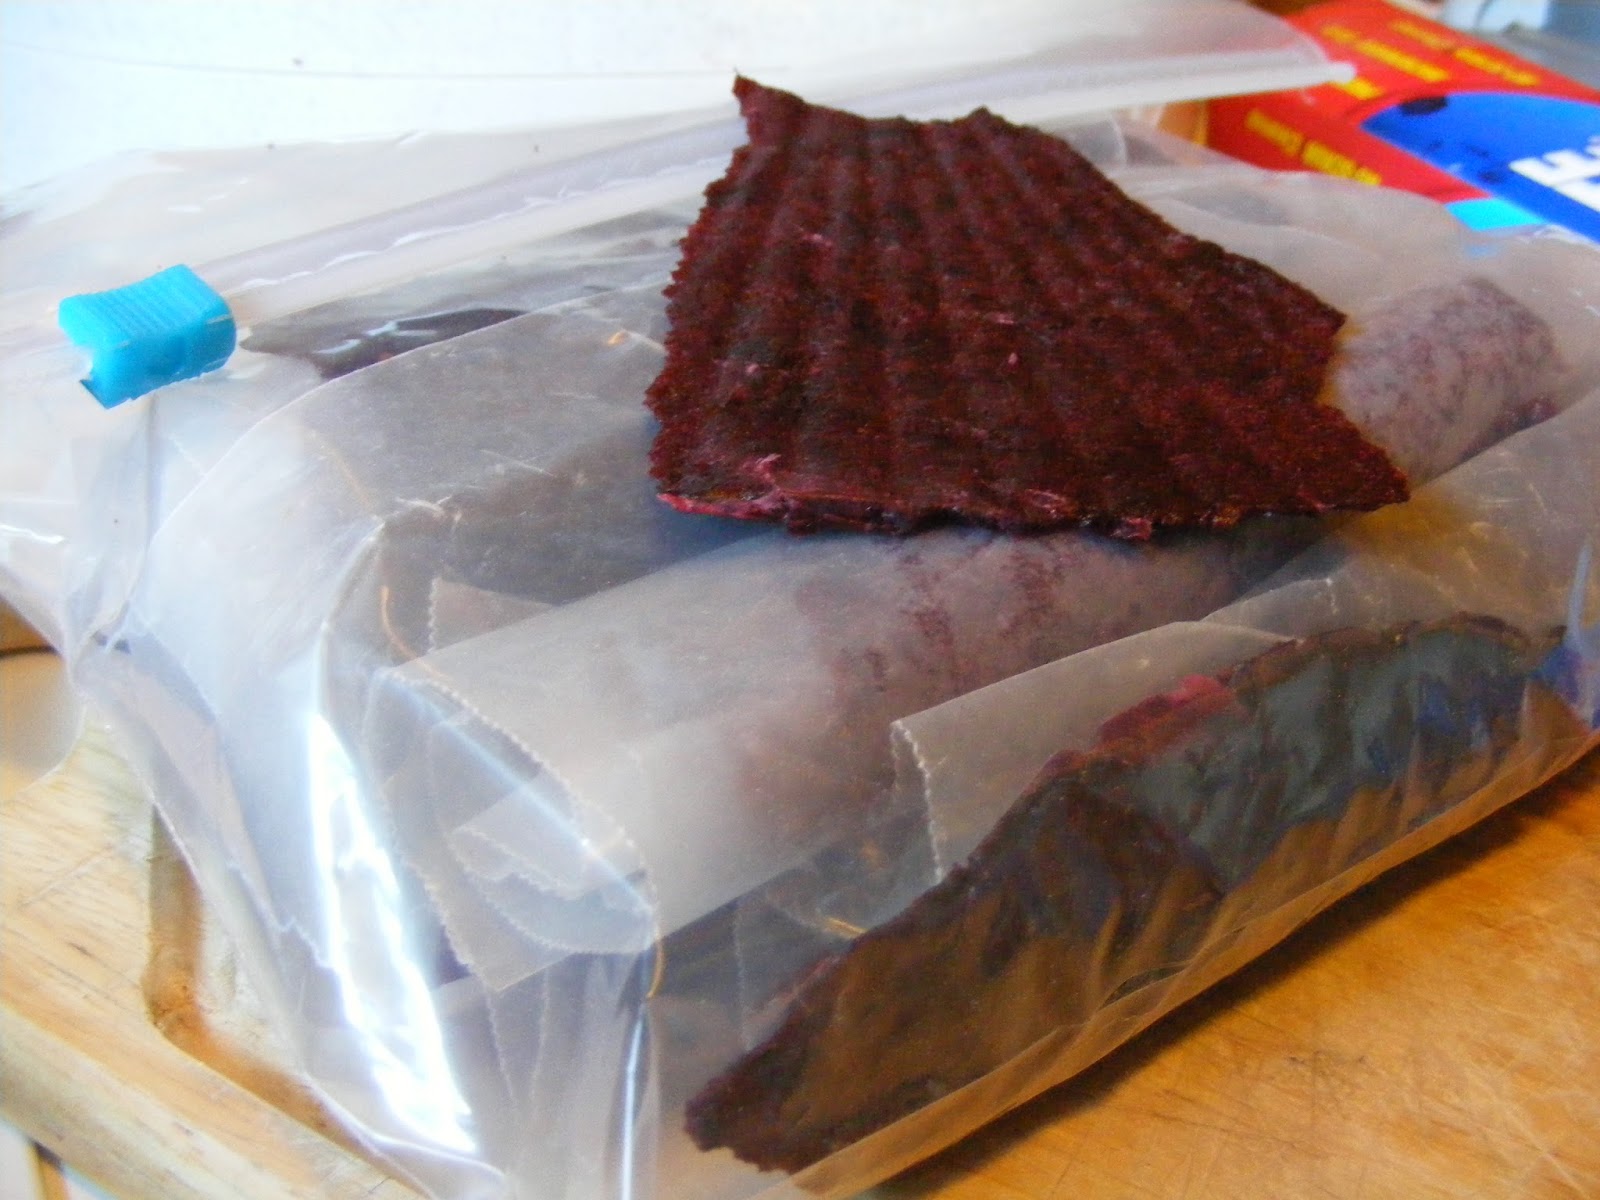
Depending on the amount of water, how thick your layer and your temperature setting, it can take from hours to a couple days. When it is no longer sticky tear a chunch off and let it cool fully to check for dryness. If you want these to be shelf stable for any resonable amount of time they need to be dry, if you plan on refrigerating or freezing then just dry to your preference. Just a note: you really can't tell how dry fruit leather is until its fully cool, it hardens up considerably so test it before you think its read to avoid making fruit crisps instead of leather, yeah I might have done that a time or two. For storage I cut it into serving sizes chunks and roll it up on the parchment paper it was dried on. You could also use plastic wrap, and store it in an airtight container. Just make sure it's totally cool before putting it away.That really is all there is to it! What kind of fruit leather do you like best?
This post is participating in the Real Food Wednesdays, Frugal Days, Sustainable Ways #85, The HomeAcre #32 and the From The Farm Blog Hop, head on over to find other great blogs like ours!
When I was growing up, my best friend's mother made fruit leather all the time! It was really good! Hmmm, maybe that's why she was my best friend! I will be making some plum/blackberry leather soon! I hope it turns out! Thanks for the inspiration.
ReplyDeleteHaha, maybe so! That combo sounds delicious, although, this black berry season I am relearning that blackberry seeds are big, LOL. I don't know if I would remove the seeds or not, just something to think about. I'm glad I gave you some inspiration!
DeleteWe love fruit leather!! Great tutorial!
ReplyDeleteThanks for sharing with us at the HomeAcre hop!
We do too, thanks for visiting!
Delete