
If you haven't discovered lentils yet, you are missing out! They have a unique taste I can only describe as "lentil" that is really, well, tasty! They cook fast, don't need to be soaked (although they benefit from it) before cooking and you can eat them just sprouted unlike most legumes that have anti-nutritive compounds that can only be deactivated with long soaking and boiling. Those compounds are partially responsible for the link between beans and gas/ bloating. You can read more about cooking lentils and other legumes in my Cooking Legumes post.
There are a few different kinds of lentils. The two I have tried are the "brown" or really tanish-yellow colored and the french green which have a green marbled color, very pretty. I prefer the greens. They seem to hold up better during cooking and have a more lentily flavor.

I had been cooking lentils in soup, curried and for taco beans but I wanted something different to try with them. After Googling and hunting through cook books, this was the recipe that caught my eye. It was featured on Epicurious as South Indian Lentil Cakes with Raita. As usual, I deviated from their recipe but not much!
The cakes turn out much better if you give the beans and lentil a couple days to sprout, at least start them the morning of the day before you want to make this for best results. This batch feeds AJ and me ,when hungry, with just a little left over.
The cakes turn out much better if you give the beans and lentil a couple days to sprout, at least start them the morning of the day before you want to make this for best results. This batch feeds AJ and me ,when hungry, with just a little left over.
Also need-
1 head of garlic
olive oil for frying
Raita
salt, ground pepper to taste
1/4 teaspoon cumin seeds
1 cup plain yogurt
1/4 or 1/2 cup finely chopped English or baby cucumber or seeded other cucumber
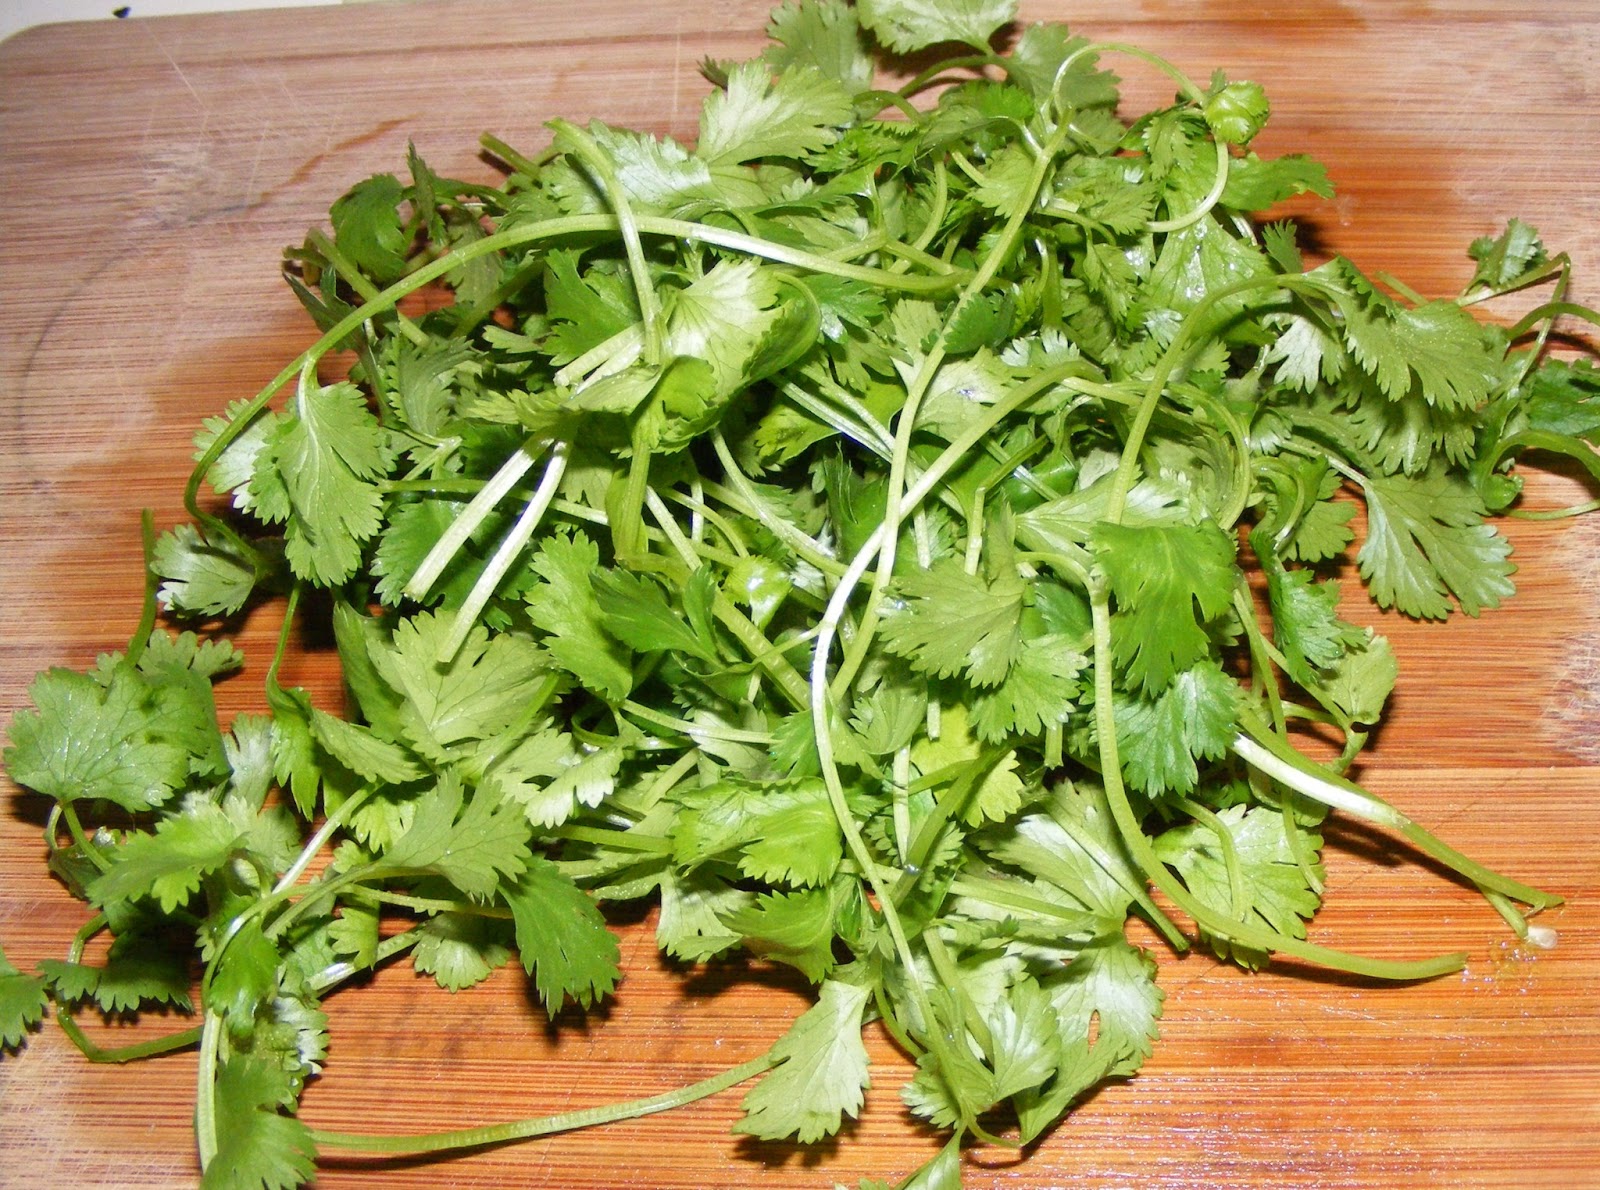
1/4 cup chopped fresh cilantro
1/2 minced seeded jalapeño
juice from half a lemon - more to taste
*seeded means seeds removed, hubby thought you might not know*
First things first, get that head of garlic roasting.
The recipe said to roast on 450°F but I did mine on 375°F and it worked just fine. I think the only difference is that it will take longer to cook at a lower temperature and at least in my case, I'm more likely to burn that puppy to a crisp when I forget about it at a higher temperature. Cut the papery top and a little of the cloves off. The first time I made these I thought this was just a fancy-pants step, so I didn't do it. FIRE !!! Yes, really, there were flames in my itty-bitty oven, so take my advice and do the fancy-pants step.

I just set mine on the rack but it will bubble over while cooking so you might want to put it on a baking dish, one of those fancy garlic roasting pots or wrap it in foil or other oven safe papers. I try to stay away from foil, I have heard some rumblings about it ending up in the food but haven't taken the time to research it yet so I just don't use it unless I have to. I didn't keep track of how long it took to cook, it couldn't have been more than a half hour. Since the garlic goes from hard to squishy I think you will have a pretty easy time figuring out when it's done.
 |
| yummy roasted garlic |

While the garlic is roasting, toast your cumin seeds. Yes, you can just use ground cumin. But, the difference in cumin that's from toasted seeds is huge. Some smart person must have known how much better toasted cumin tastes since you can buy toasted ground cumin here, instead of making it yourself. Toasting makes a more complex, nuttier and smoother flavor than your normal ground cumin. Add the cumin seeds to a dry pan and over medium high heat swirl them around every few minutes until they brown.
 |
| Before toasting |
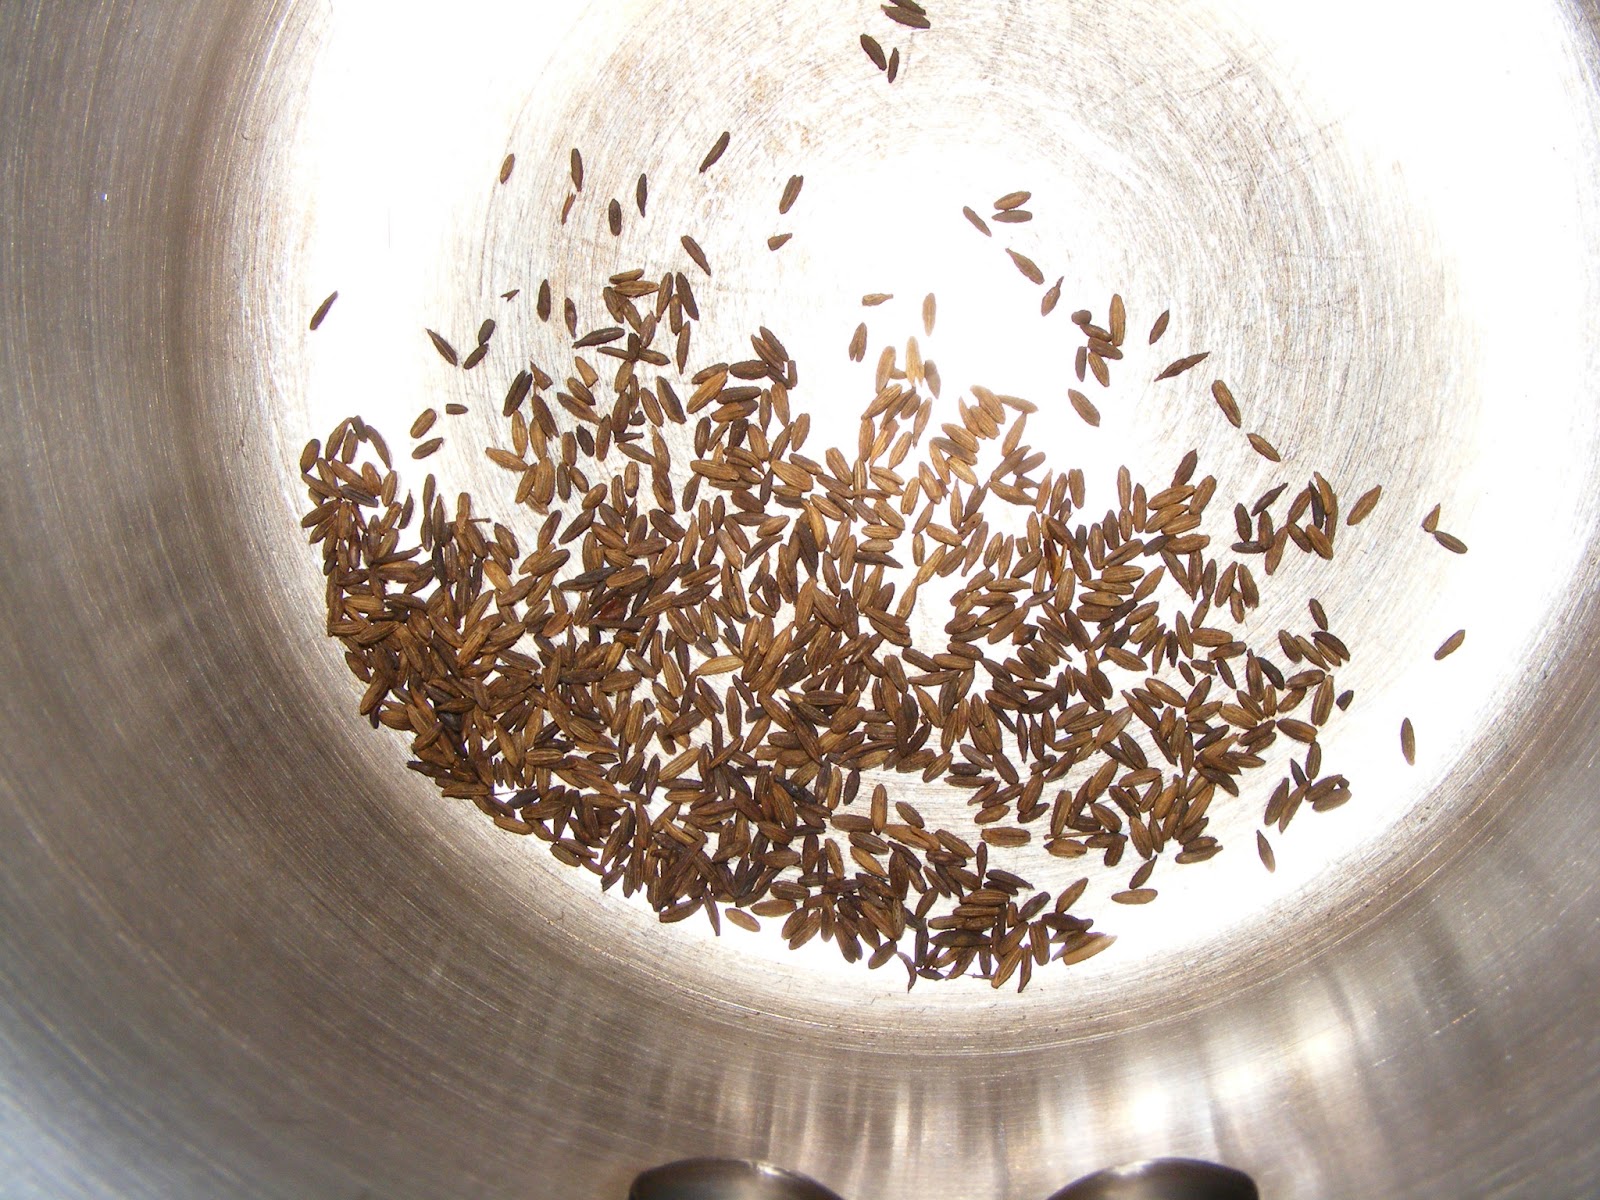
about the color cumin seeds should be after toasting
 |
| use a spice grinder, mortar and pestle or get inventive. |
Okay, enough about toxic fumes! Back to happy cooking land. Now you will need to grind the seeds. I don't have any particular kitchen tool actually made for grinding things but I do have paper weights and this one nicely textured bowl my grandpa made that together work perfectly to grind things. A spice or coffee grinder  or mortar and pestle
 would be more conventional ways to grind the cumin.


I just make the raita in that bowl and add everything to the now ground toasted cumin. You finely mince the cilantro, pepper and cucumber, mix that in with your cumin, salt, pepper, olive oil, lemon juice and yogurt. The second time we had this I used half a cucumber and my husband complained the raita was too thick, so if you want a thinner version use 1/4 of a cucumber. Don't forget to taste it and make sure it's seasoned to your liking.
 |
| thick yummy raita |
I make the raita first so the flavors have a chance to get friendly while I make the lentil cakes. Speaking of lentil cakes...

Lentil Cakes
1/4 cup dry mung beans, such as this
1/4 cup rice, I used basmati rice- this is our go to brand
1 clove garlic , minced
1 teaspoon chopped peeled fresh ginger- turns out fine without it
1/2 jalapeño, seeded, minced
1 cup spinach- or pea tendrils, arugula, mustard, kale? use a green that hold up nicely when cooked
1/2 cup peas- can be with edible pods or just peas
1/4 cup chopped fresh cilantro
1/4 cup chopped red onions or scallion or leek
1 teaspoon salt
1 teaspoon ground black pepper
These cakes are edible, tasty and stick together because the legumes are sprouted. Since they are sprouted the cakes cook very fast, you can actually eat the mung beans and lentils just sprouted, try them before you grind them up. They don't taste half bad and are really good for you. The original recipe only says to soak for five hours, I think that is way too short. They are not at all soft by then, not sprouting yet so you don't get any of the health benefits of sprouts and they don't stick together that great.
 |
| these little beauties had been growing for two full days |


Add your sprouted legumes, peas, ginger, coarsely chopped onion, cilantro, garlic, pepper and seasonings to your food processor . You will probably have to stop and push everything off the sides once or twice. When the mix is about as course as the picture below add your coarsely chopped greens and process until it's about twice as smooth as pictured. Look at the picture of the frying cakes to see what I mean.
 |
| texture from first round of processing |
 |
| sprouts, peas, onion, ginger, garlic, cilantro, seasonings. |
 |
| how the final texture should be |

I think making smaller cakes is better because they are pretty fragile little buggers at first. I made them about half cup size. Add a just a drizzle of oil to coat your pan, you will need more as you are frying. Heat it until you see the oil ripple, meaning it's hot, and add some of your cakes. I found that it was easier to do multiple batches so I had more room to turn them; cramped spacing the first time resulted in a few broken ones.


These cook really fast. Medium heat and a watchful eye are in order. When overcooked they get unappetizing hard bits in the browned areas. If that happens lower your temperature and/or cooking time. Remember, everything in these patties you can eat raw so frying is really about making them warm, stick together and flavor from browning; not about cooking them.

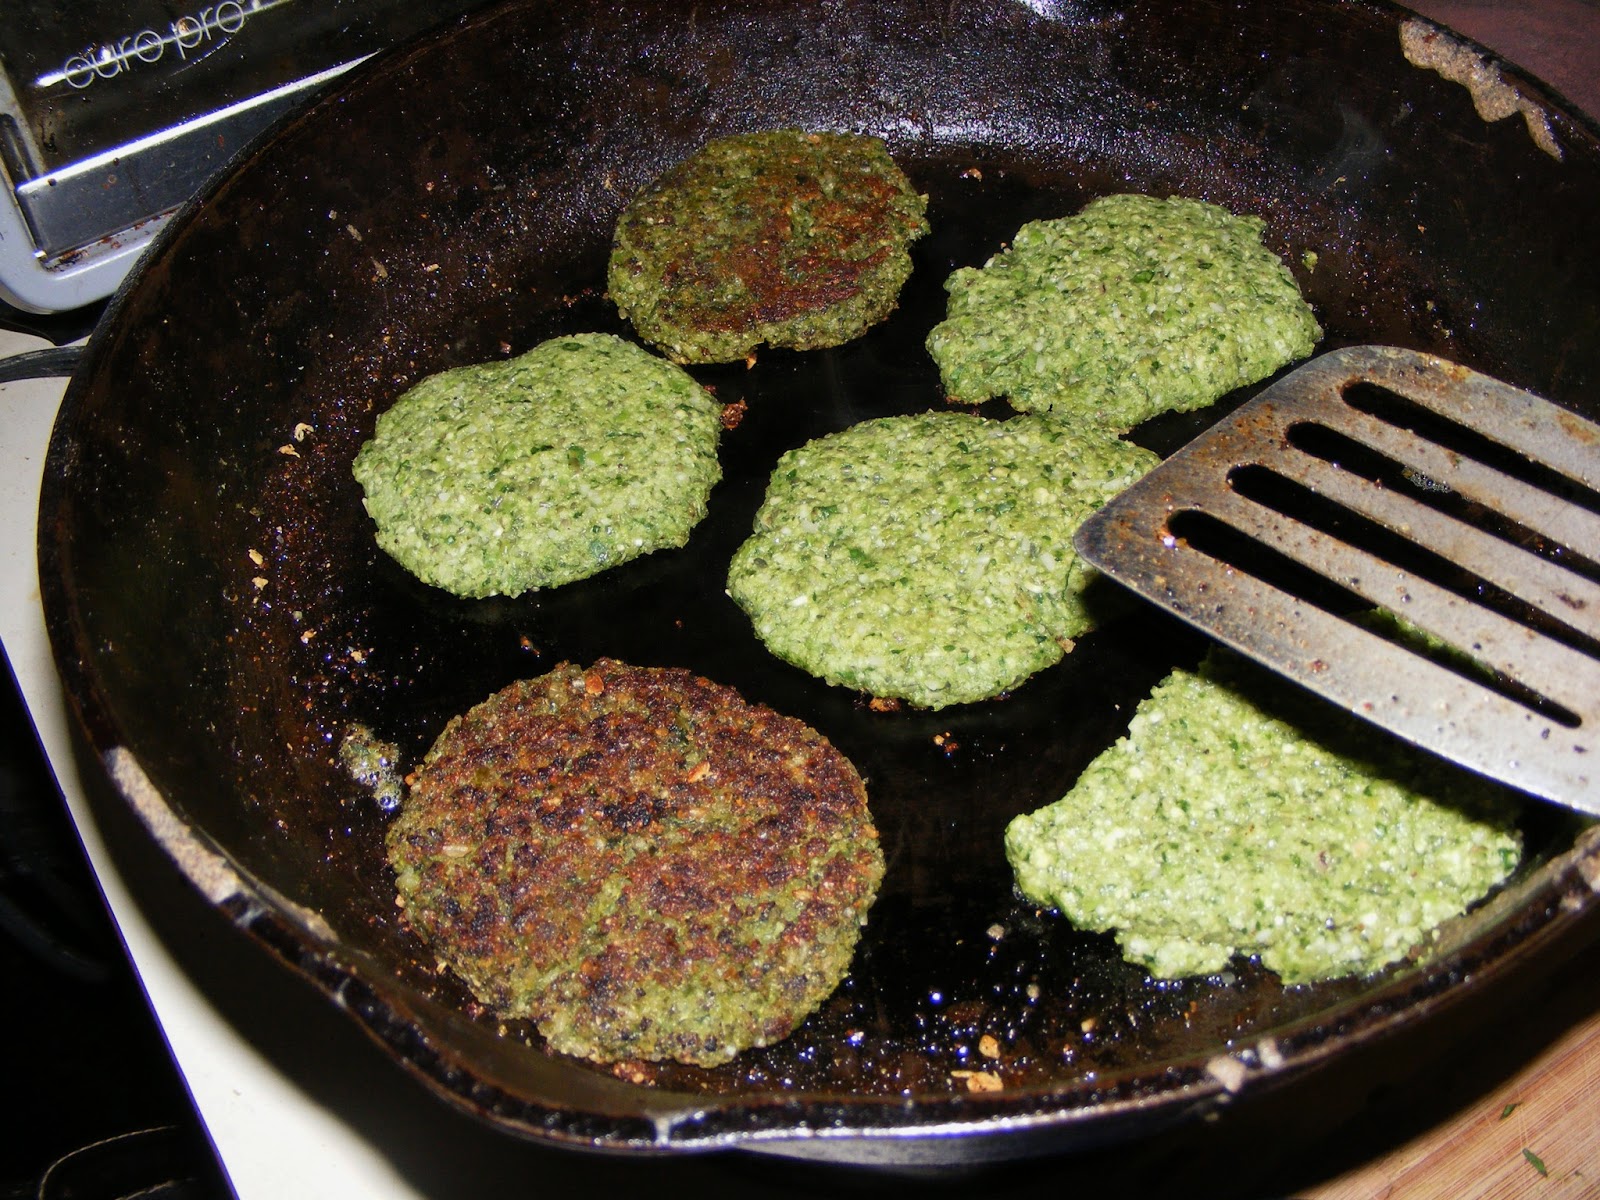
These cook really fast. Medium heat and a watchful eye are in order. When overcooked they get unappetizing hard bits in the browned areas. If that happens lower your temperature and/or cooking time. Remember, everything in these patties you can eat raw so frying is really about making them warm, stick together and flavor from browning; not about cooking them.

This is a really healthy and delicious meal that we love. Try it and let me know what you think!

This post is participating in The Frugal Days, Sustainable Ways Wednesday Blog Hop, Mostly Homemade Mondays , Real Food Fridays and Healthy Tuesdays, check them out to find other great blogs like ours!

This post is participating in The Frugal Days, Sustainable Ways Wednesday Blog Hop, Mostly Homemade Mondays , Real Food Fridays and Healthy Tuesdays, check them out to find other great blogs like ours!
Yum! These look really good. I made some soup with lentils instead of split peas one day last year and my husband loved it. I need to remember to buy some more and try some new recipes with them.
ReplyDeleteThanks for sharing on A Humble Bumble's Healthy Tuesdays Blog Hop. I hope you will join us again next week!
Kerry from Country Living On A Hill
I remember the first time I saw lentils I was at a farm show with my FFA group and they were handing out bags of lentils. I was like "what the heck are those?!" I actually still have that bag, lol, never made it in the ground or the pot. They are such versatile little gems they are a staple of my pantry now. Thanks for hosting the blog hop and for visiting!
DeleteWoah....these look amazing! All the flavors I love. Pinning for later, thanks!
ReplyDelete