
 When our freezer started dying quite a bit of our meat thawed and refroze to some degree. The vacuum packed stuff really didn't deal well with that. Yet another reason why I'm not a fan of vacuum packing, it has its place but I prefer butcher paper and some plastic bags or wrap.
Anyway, we tried eating some, it was horrible! The texture is absolutely ruined and it tasted like a beef flavored chew toy, not that I have chewed on one to know that, but I have a good imagination. Pretty bad. It's still technically safe to eat and I hate wasting food so I had to figure out something to do with it. I have always wanted to try making dog treats and I thought this was the perfect occasion. These did start out as dog treats but Paisley wanted in on the action before anyone else so they couldn't be just dog treats anymore.

Ingredients:
1 Cup cooked sweet potato or pumpkin (baked is best)1 Cup ground pumpkin seeds
3lbs


There is no reason, and no need, to use any flours from any grain. It really isn't good for your dog or cat and this makes nice treats without it.
In place of the pumpkin seeds you could use ground flax or chia seeds, but dogs really can't digest any seeds very efficiently and those are tougher to digest than pumpkin seeds because of all the fiber in their seed coat. There are probably other, maybe even better choices that I haven't discovered yet; if you know of one, tell us about it! To make this even more nutritious, sprout or just soak the pumpkin seeds overnight before grinding them. The added water will mean the treats take longer to dehydrate.

Try to use a meat or mix of meats that you know your dog likes. If you aren't sure what that might be, next time you are preparing meat offer them a little piece. I honestly don't know any dog that turns down any meat. Still, it's better to make sure they like what you use and it's not worth the risk of having a whole batch of treats they won't eat!
Method:
First things first, you need to cook the outside of your meat. Muscle is sterile, so the only part that might have bacteria that would make the treats spoil faster is the outside of the meat. You can bake in a 350°F oven until the outside is no longer pink or brown it in a hot pan, whichever is fine. You don't have to do this step but it makes a treat that might last longer and if you are buying industrial meat, cooking the outside is safer for everyone.Next:
Get out your handy-dandy food processor! Grind your pumpkin seeds and meat. My food processor is small enough I had to do this in multiple batches. You can see the different colors of the batches if you look.
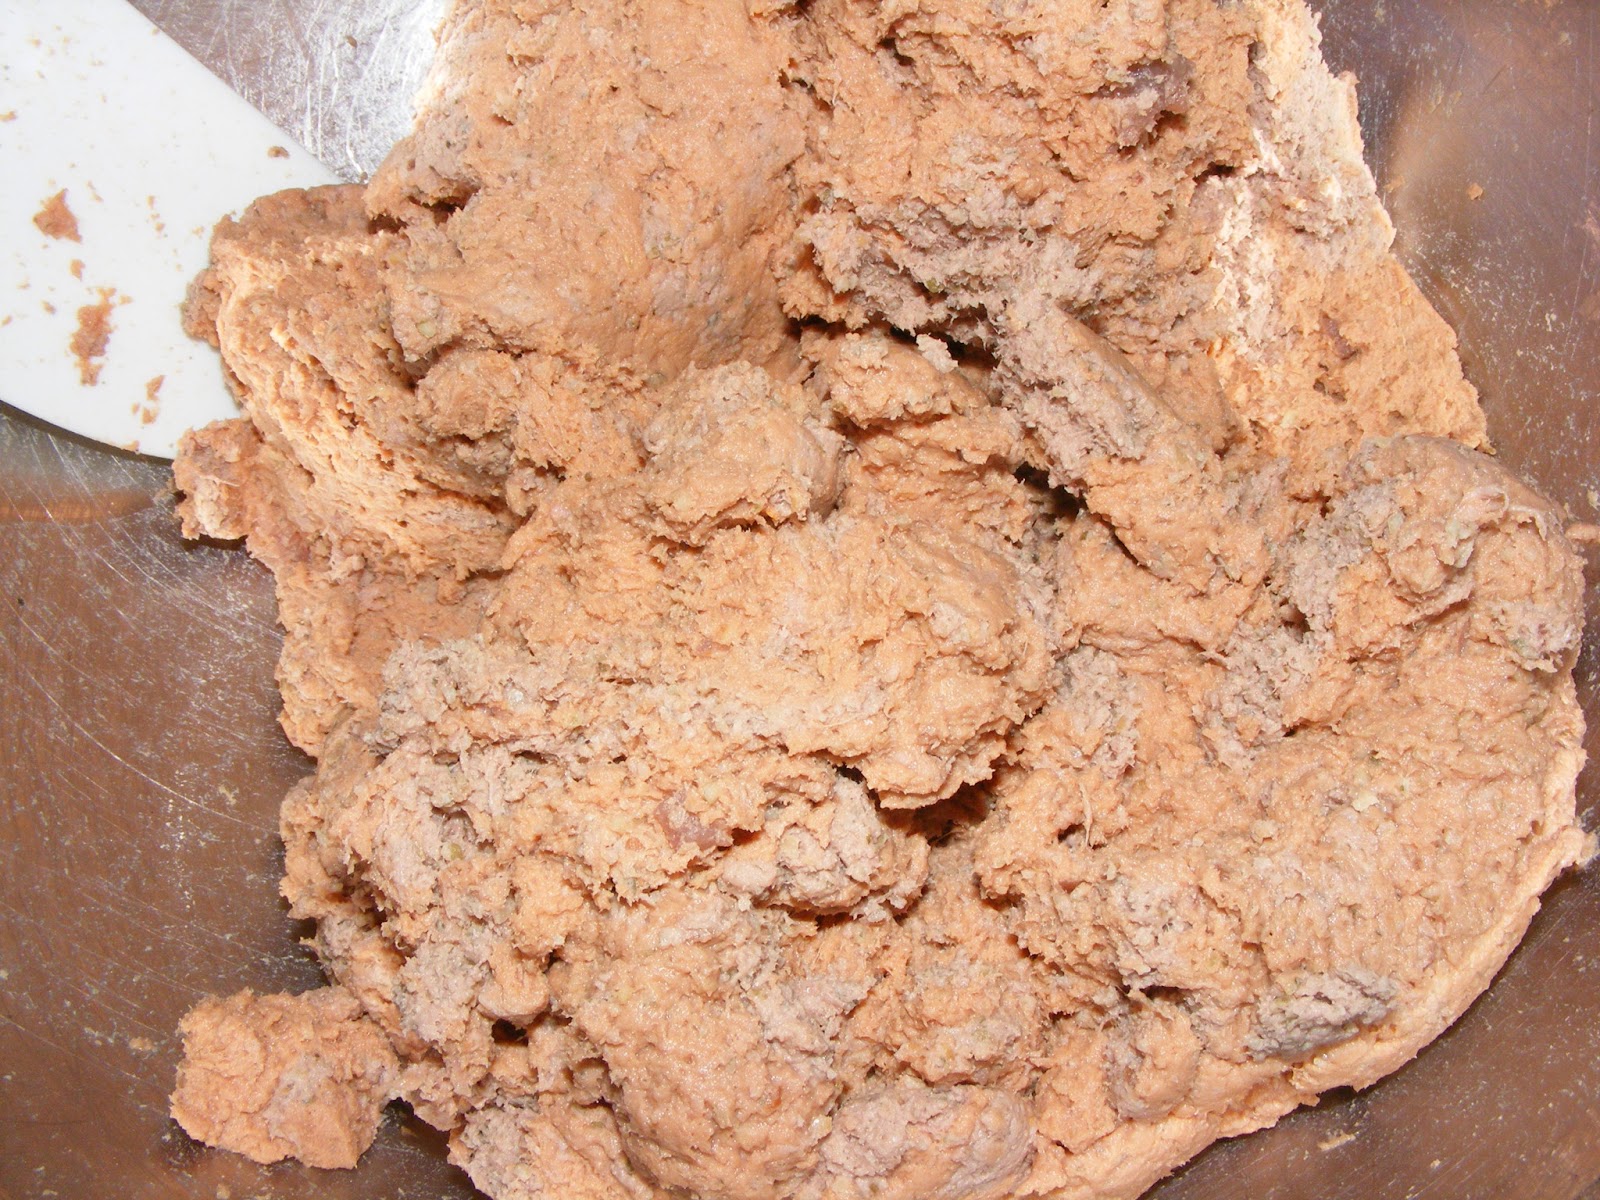
Even if you have to do multiple batches you can still mix them really well together after they are processed and not get the different colors, I just didn't think it mattered or that the Furs would care. If you are lucky and can grind it all together, still thoroughly process the pumpkin seeds into meal before you add anything else.
So I might have a bad habit of writing down recipes and how I do things on scraps of paper. Well, there are a lot of scraps of paper lying around our house and the cats like playing with them. So I may have, sort of, lost my notes on this recipe. I'm pretty sure there was 3 pounds of meat and I think it took 4 hours to dry completely; I'm sure about the other details though!

You could do this in your oven on a low 200-ish or so temperature, leave the oven cracked so moisture can escape. The texture will probably be harder. I made these in a food Dehydrator
If you have the fancy inserts

This filled my four trays with a little taste testing by the pets. You could also freeze some of this dough for giving pills or other medicines with.


When the top side is dry to the touch, the rounds will be solid enough to flip over so the other side can dry faster. You should also remove the wax paper now. When you think it's dried all the way, break a round in half and take a piece from the inside (should be the least dried area). Let it cool fully, then you can look at the color and feel by the texture if it's dry all the way. These make a slightly brittle crisp when finished.


When you are satisfied that they are fully dried; turn off your dehydrator and remove the rounds so they can cool faster. You don't want to store anything that has been dried before it's cooled because the last little bit of moisture in the heat can encourage mold.

I broke the rounds up into serving sizes and then transferred them to jars. This batch made 2 very, meticulously, absolutely full quarts, and there was taste testing again before I even tried to fill the jars.
I tested these on 4 dogs and 3 cats, only one cat out of all the animals wasn't interested; Blackie acted like it wasn't even food. Other than him, everybody ate theirs and came back wanted more.
Let us know how your four leg-ed hunters like them!
No comments:
Post a Comment
Add to the conversation!